Create A Release
We will be migrating to using/creating Releases to move code from development to Production.
For now, only the following repos have been fully migrated to using Release Workflow in creating production releases.
This page will be updated as more repos are migrated.
Some of the benefits of using Releases are
- GitHub best practices
- Easy to identify all the branches, changes, improvements, bug fixes and (new) features contained in the release
- When linked with Jira, makes it easy to identify all the Jira issues/tickets that are in the current release
- Gives the ability to use Semantic Versioning (Semver) when doing releases.
In the unlikely event that a change/branch/PR which has been merged into main is not to be released, then you will need to revert the un-needed change/branch/PR by creating a revert PR.
Steps to creating/drafting a New Release
-
Ensure that all builds have passed, PRs have been approved and merged in. Only code or PRs that need to be released should have been merged in.
-
On GitHub,
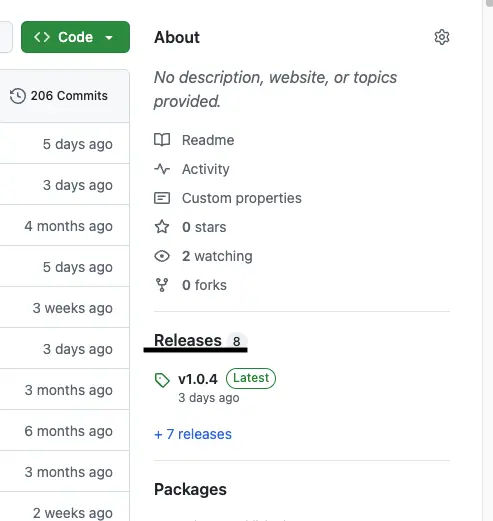
(i) in the middle right section, click on Releases
OR
(ii) in the top area, click on Tags

-
Ensure that the Releases tab is selected
 View Release History
On this page you can see a list of past releases, the PR's and a full changelog of all the code changes that were released.
-
Click on Draft a new release button

-
Click the Choose a tag dropdown button

-
Enter the next tag value. Eg. If the last released tag was
v1.0.4enterv1.0.5and then click on the Create new tag: v1.0.5 on publish button
-
Click the Target dropdown and ensure
mainis selected. note
noteIt is possible to select another branch here, eg
prodwhen creating the release. -
Click on Generate release notes button

Review the details in the description box below. In most cases, you will not need to edit it
-
Once everything looks good, click on the Publish release button to public the selected or target branch to production.
